Panoramic shots break down restrictions on aspect ratio and angle of view. Panorama expert Jan Röpenack will show you what types are available and how high-quality images are created.
With a panorama, in English “panoramic view, holistic view”, a scene can be presented comprehensively and, if required, completely. If a conventional single shot is always fixed to a certain aspect ratio, e.g. 2:3 or 3:4, the stitching technique not only allows any desired aspect ratio to be achieved, but also allows image angle restrictions to be cleverly circumvented. There is practically no need to carry a bag full of lenses anymore, one starts photographing at the place where the motive starts and stops where it ends. Photographers who create panoramas in this way adapt the aspect ratio and angle of view to the motif and thus have far more creative possibilities than their colleagues who “only” take single images. In addition, the resolution of a panorama increases with each partial shot taken; in terms of quality, the panoramic photographer is thus at the highest level without having to invest in expensive camera technology.
Panoramas are usually classified according to their angle of view (360° or partial panoramas) and projection type. In the latter case, a main distinction is made between surface, cylindrical, spherical and cube projection. Also exotic projections like the representation as “Little Planet” are possible. Switching between the projection types is a pure software matter and takes place later on the computer with only a few mouse clicks. So you can create panoramas in different projections with the same partial shots and decide on the computer which one fits best.
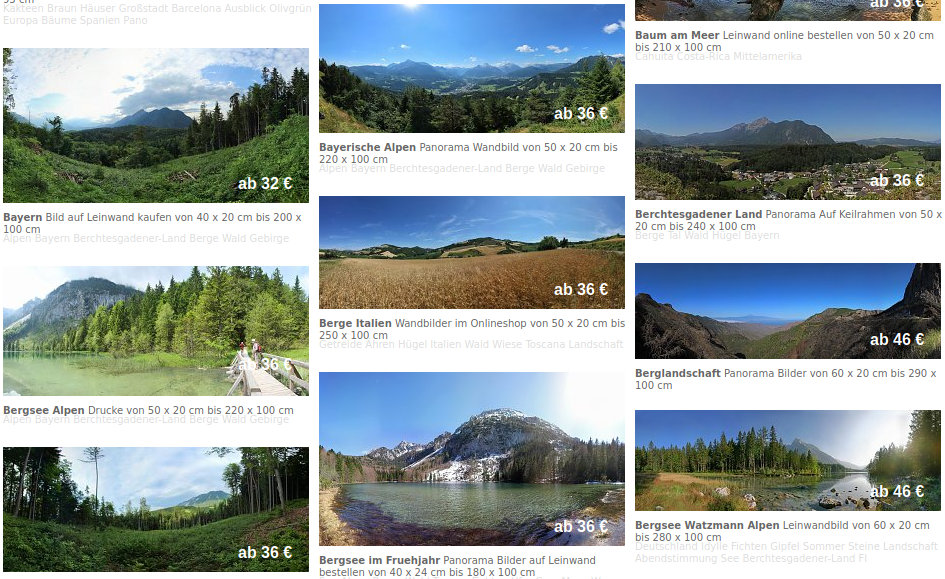
One of the best examples of professional Panorama images of that kind can be found on art-trade.de on their Panorama wall displays on canvas gallery.

The beauty of their images lies in their natural grace. They do not seem too artificial like many other pictures today.
Let’s have a look how such images can be created:
Cylindrical Panorama – Ideal for large Image Angles
The most common type of projection, cylindrical projection, has the advantage that large horizontal image angles of up to 360° can also be displayed. Imagine you are standing in the middle of a cylinder and looking at its surface from the inside. If you represent a cylindrical panorama on a flat surface, for example as an expression, horizontal lines, except for the horizon, appear curved, and the further away from the horizon, the stronger they appear. This becomes clear in case of larger image angles, in the picture well recognizable by the roofs of the houses.
Area Panorama – the usual Perspective
For smaller image angles, surface projection is an alternative, as there is no deflection of lines. With this type of display, a wide-angle or super-wide-angle lens is digitally simulated on a “normal” camera. With very large image angles, however, distortion of objects at the edge of the image, the “Super wide angle effect”. This is not an image defect, but corresponds to the natural image. In the case of surface projection, only image angles smaller than 180° can be displayed, because on a flat surface only what is in front of it can be displayed, but not what is behind or next to it.

Spherical Panorama – for the whole Room
For panoramas that depict the entire room 360° x 180°, spherical or cube projections are possible. These panoramas are produced less for print and more for presentation on the Internet. Here they are usually integrated into the website with the help of Flash or HTML5 players. The viewer can thus move interactively in the panorama, seeing only a section in the surface projection he is used to.
Stitching – the Sewing Together of single Images
In the stitching technique, several pictures are taken one after the other, with the camera being rotated by a certain angle, the step size. The individual images are later stitched together with stitching software, e.g. PanoramaStudio, PTGui or Autopano, to form a complete image, the finished panorama. For this to work, the individual images should overlap by about 30%. Recommendations regarding the twisting angle depending on the focal length used can be found further back in the workshop and in the manuals of the panorama heads of all well-known manufacturers.
The right Pivot Point – why a Panorama Head is needed
If one turns somehow from the hand or with the help of a turning plate between the single shots, there is almost always a shift between the foreground and the background. If this shift takes place in the overlapping area, the software creates unsightly ghost images. On the other hand, if you pan around a certain point, the center of the entrance pupil, also called “optical center”, “no parallax point” or erroneously “nodal point”, this parallax effect can be effectively avoided and the software can create a flawless panorama without any later retouching.
A panorama head allows exactly this rotation around the center of the entrance pupil of the lens and is essential for high-quality and reproducible results. Here is an interesting panoramic head overview.

Why Panoramas sometimes succeed without a Panorama Head
In this context, it is important to note that the parallax effect only occurs if the foreground and background are displayed together in one shot. If the scenery consists only of background, e.g. distant mountain peaks, there is no parallax effect, i.e. a panorama head is not necessary. Panoramas can then also be taken with a smartphone, for example. In the living room, however, this will hardly be possible; here, near and far away objects can be found equally well. Beginners often look for the problem with such motives and unsuccessful attempts with the software.
Where is the optical Center?
The center of the entrance pupil is the virtual image of the aperture when viewed from the object side. “Virtual”, since the aperture is not seen directly, but through a lens system. The “center” is the point of intersection where the optical axis intersects with the plane of the entrance pupil. So if you close the aperture a little bit, look into the lens from the front and move it a little to and fro, you can roughly determine the entrance pupil.
Experiments are more precise with tripod, panorama head and experimental set-up in your own living room. Since almost all panorama heads have scales on movable parts, the values determined can be reproducibly adjusted on site. The “finding” of the entrance pupil depending on the lens used – in the case of zoom lenses also the focal length – is therefore ideally a one-time affair, which can be done in your own four walls after the purchase of new equipment. How to proceed when adjusting a panoramic head can be found further back in the workshop.


